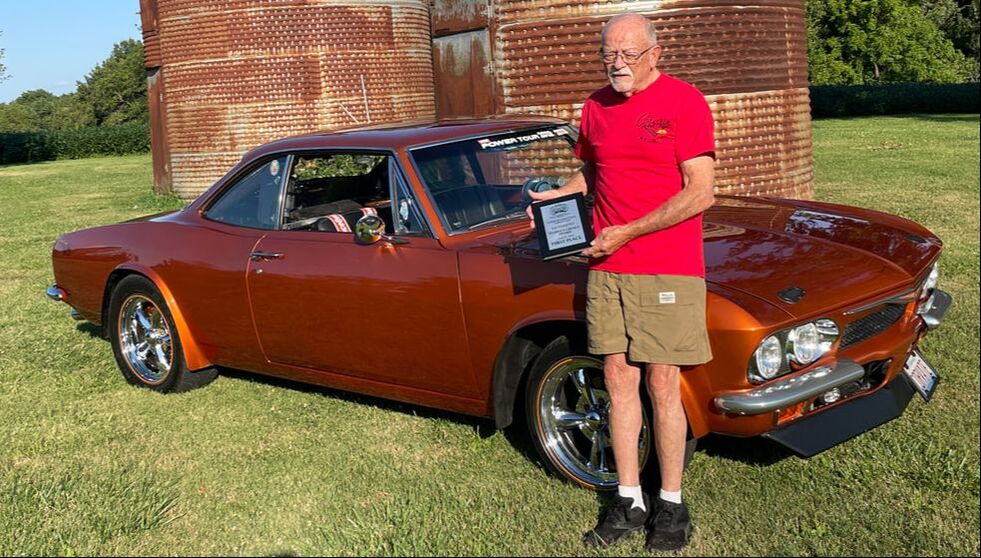
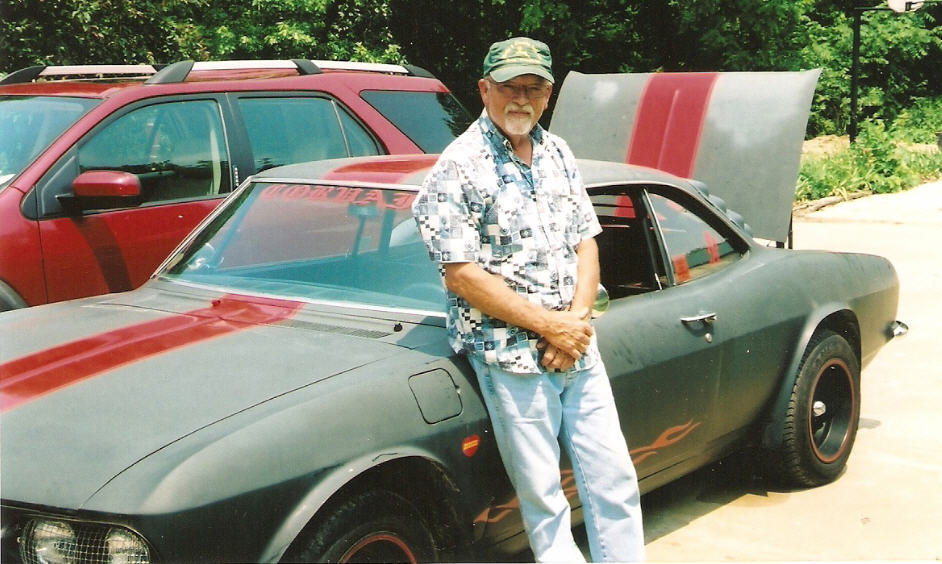
Paul Beck, V8 Registry Treasurer, Crown V8 - Pearl, Illinois
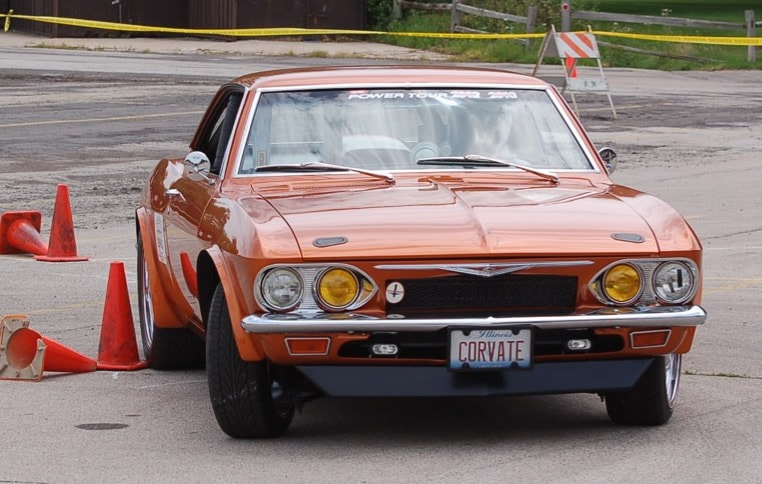
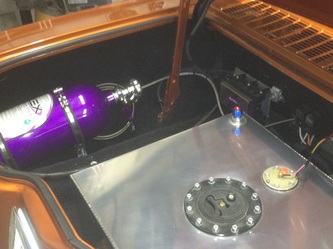
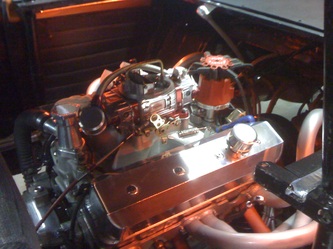
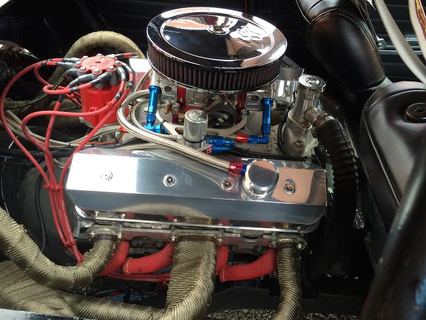
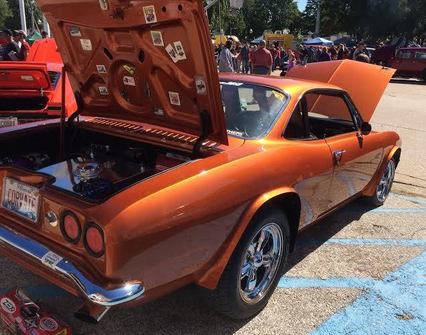
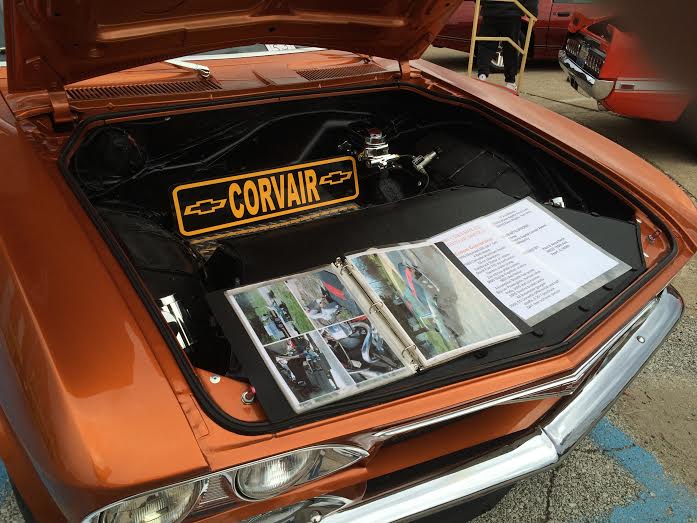
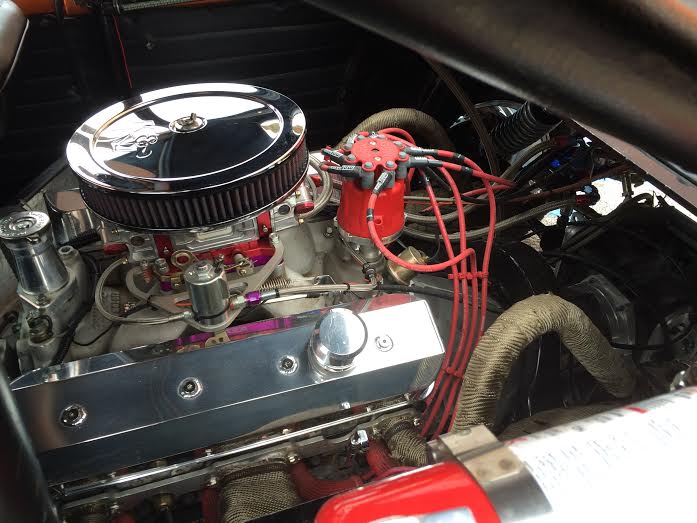
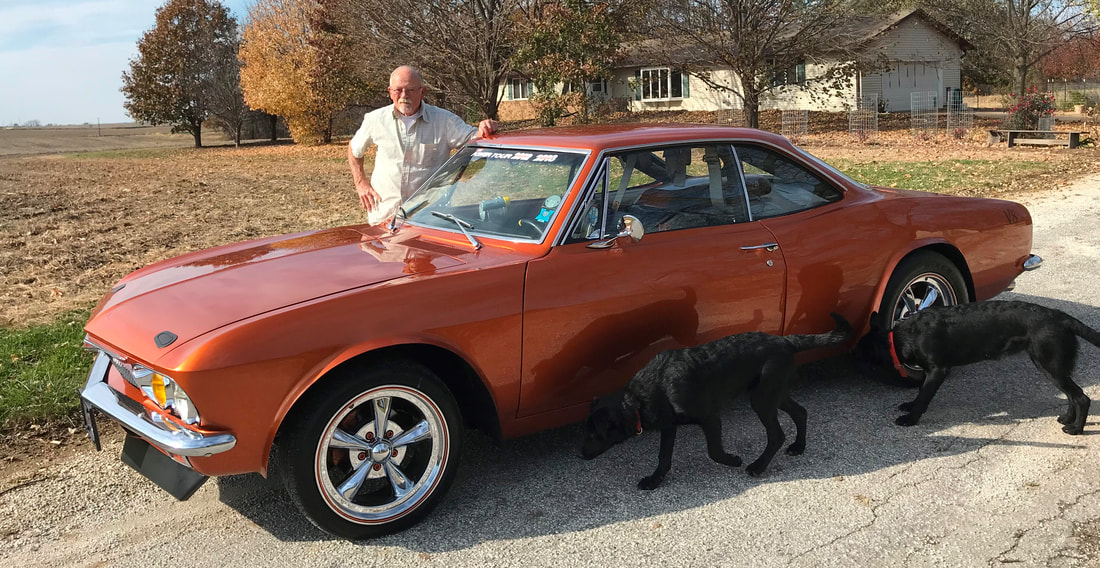
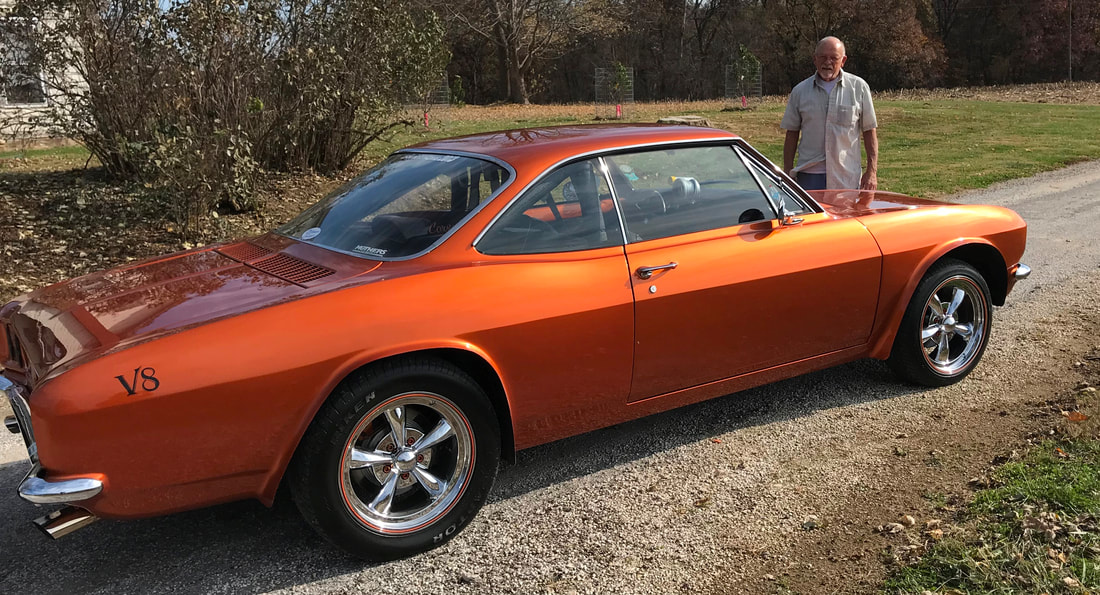
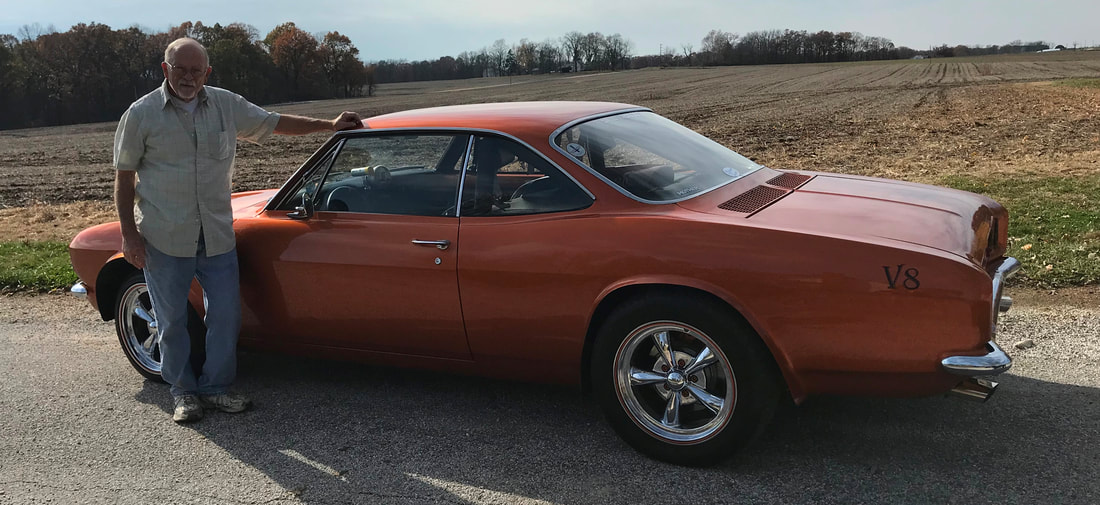
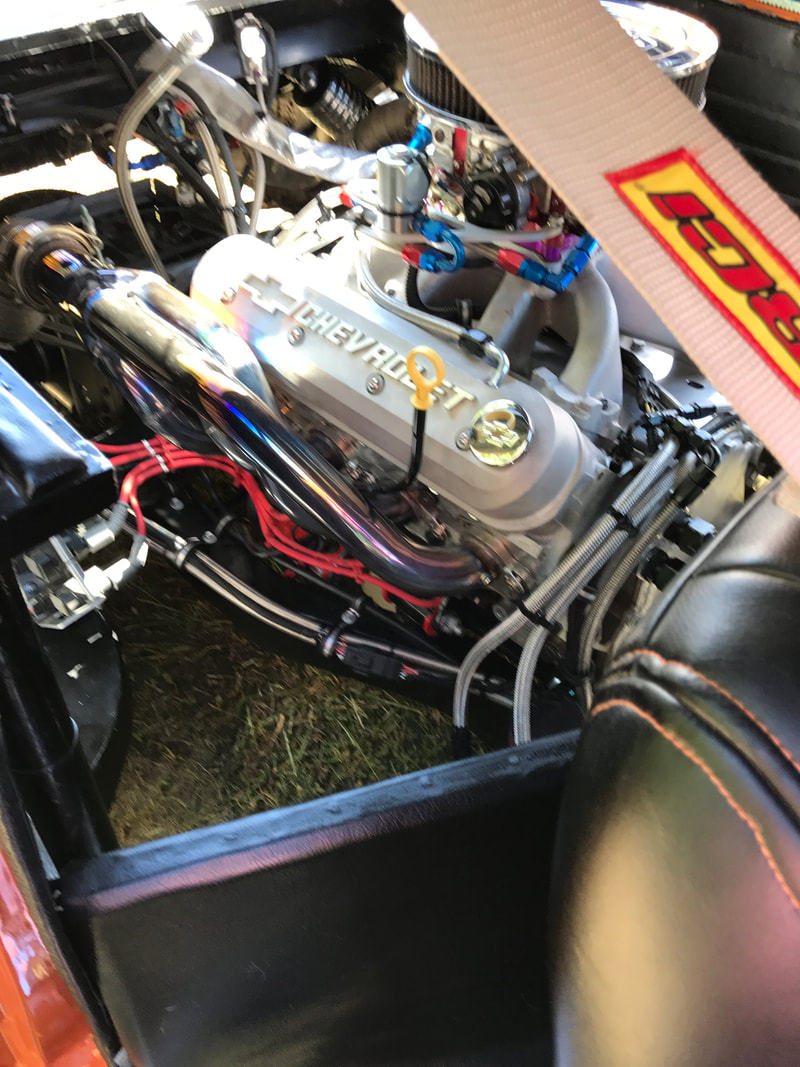
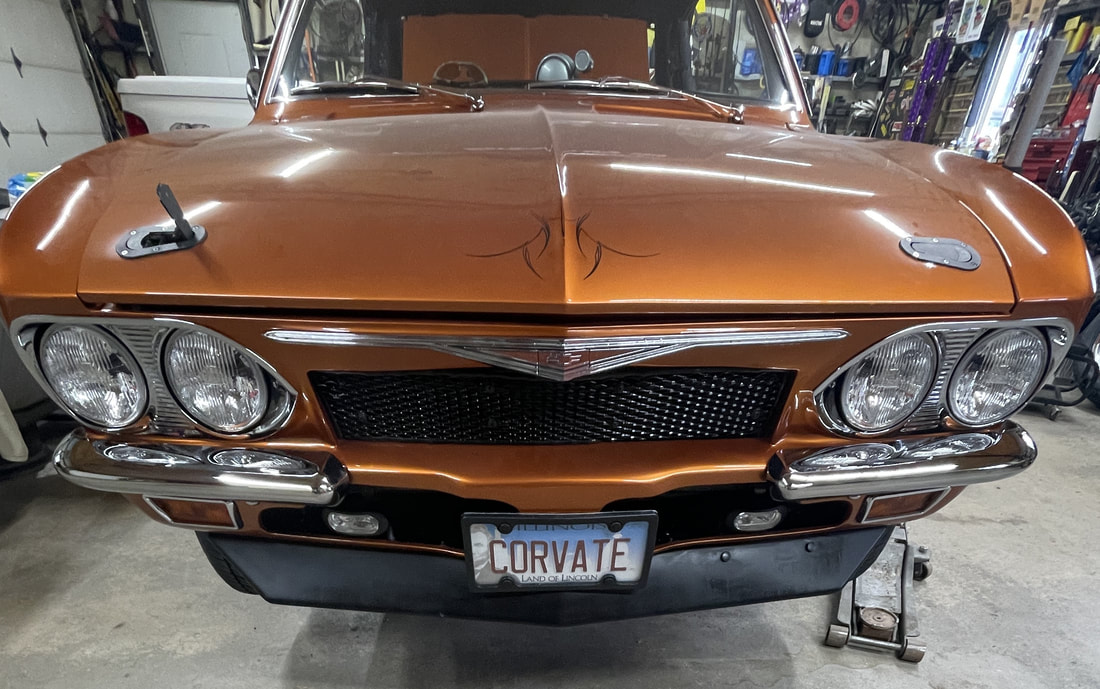
My car was a Crown Conversion when I got it but was in very rough shape. I basically did a frame on complete restomod. It is Powered by a bored 350 with 394 hp at the flywheel, a Zex nitrous system, power glide and a C5 differential.
The C5 setup is new and had been untried prior to the Power Tour. I broke or otherwise destroyed 3 halfshafts by the time I got home. I've got some additional engineering to do.... Probably should have left the Corvair differential in it - that did OK on the tour last year.
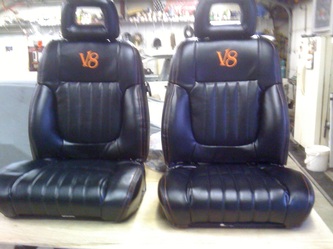
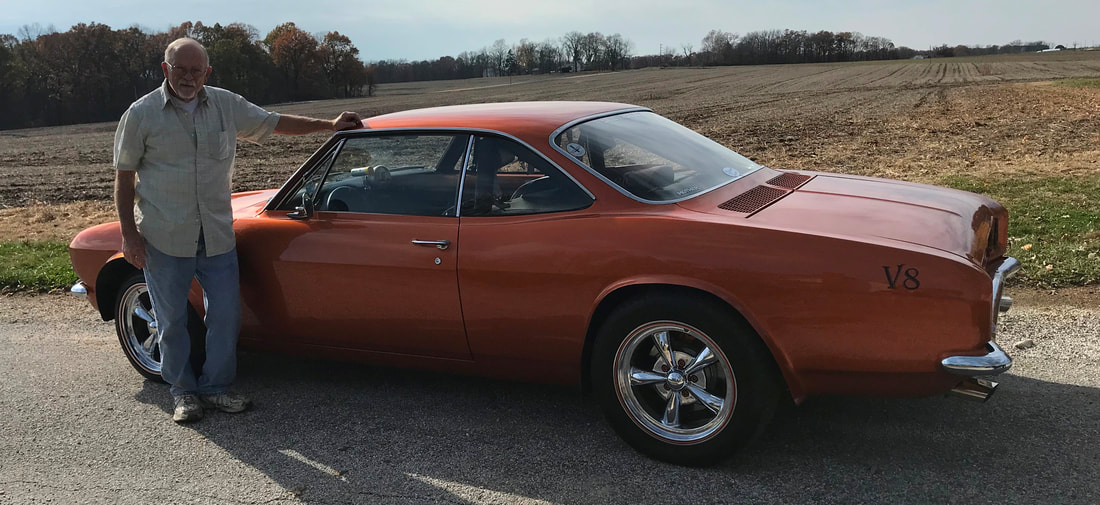
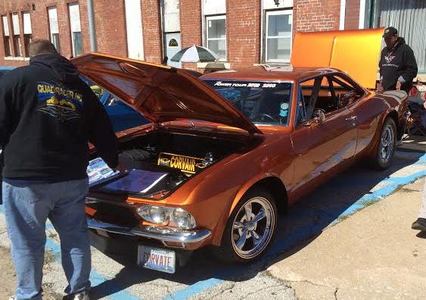
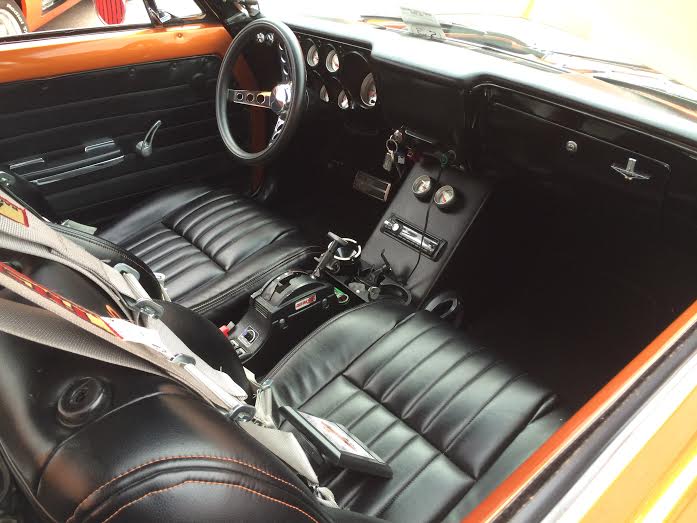
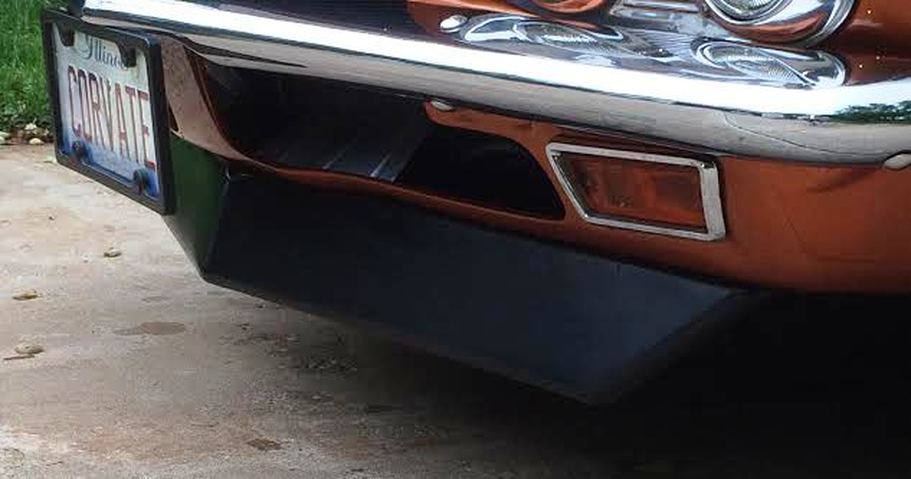
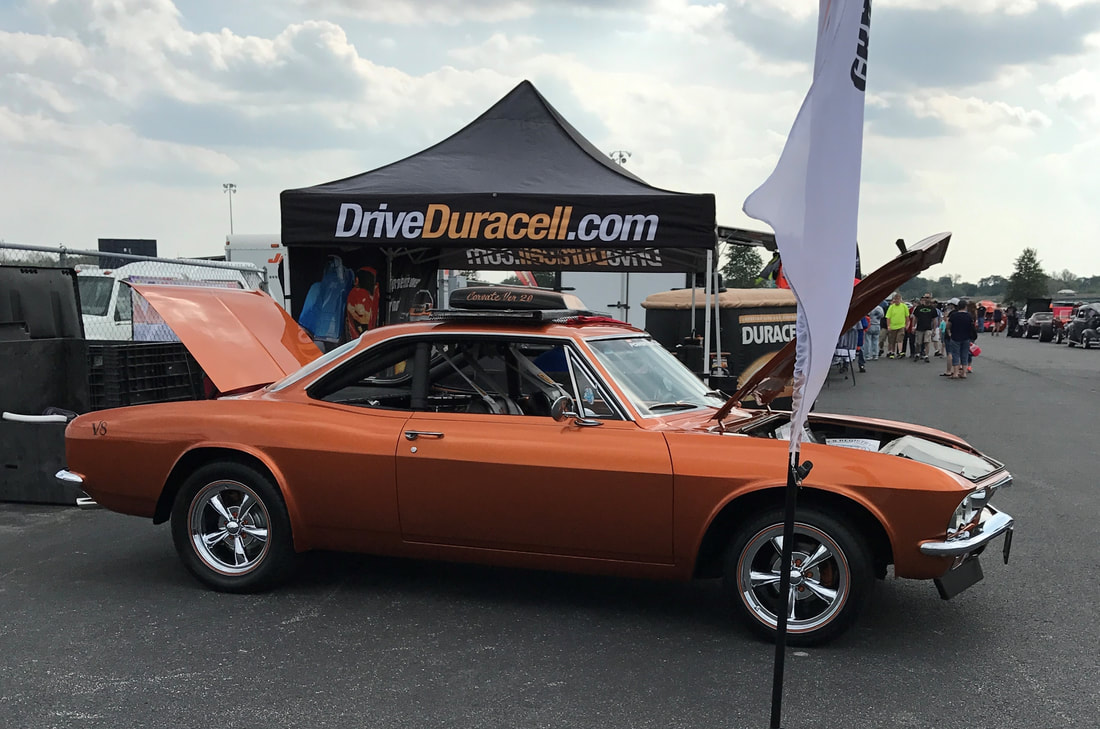
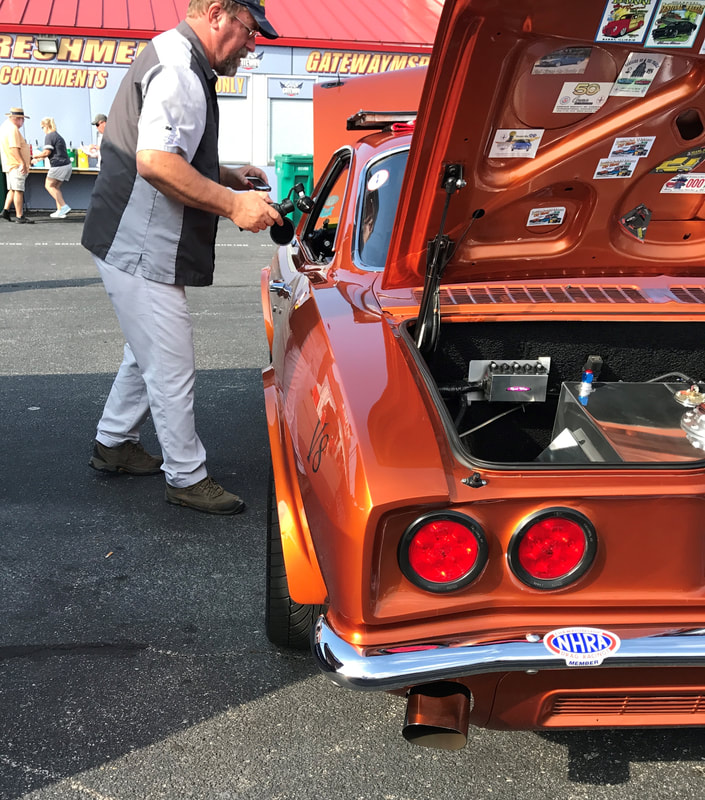
The car is painted DuPont "Atomic Orange", a Corvette C5 color. The wheel opening flares were on the car when I got it. They were formed with rolled metal shaped to conform to the wheel wells, seam welded and then filler to shape. I'm running 17" wheels, 4" backspace, with Riken Raptor 215/45/ZR17 front and Riken Raptor 255/50ZR17 in the rear. No interference but, clearance is close on the rear. The dash has been completely refitted with Autometer guages and I built a console to hold 2 additional gages, the radio and the shifter. The seats are from a 2000 Sunfire, reupholstered by a local shop. The logo on the seats was repurposed from a V8 tomato juice ad which seemed very appropriate.
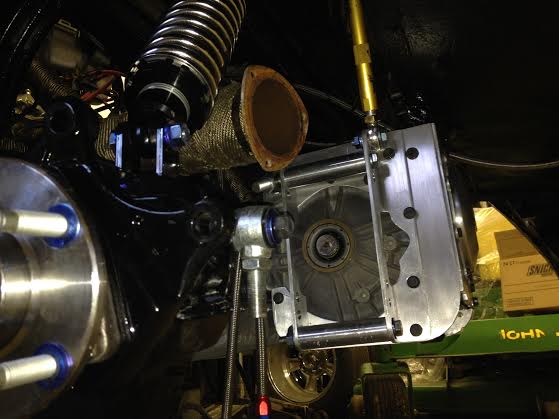
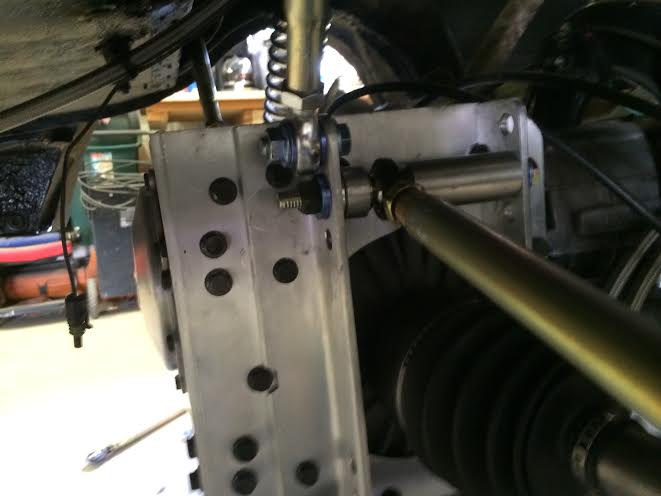
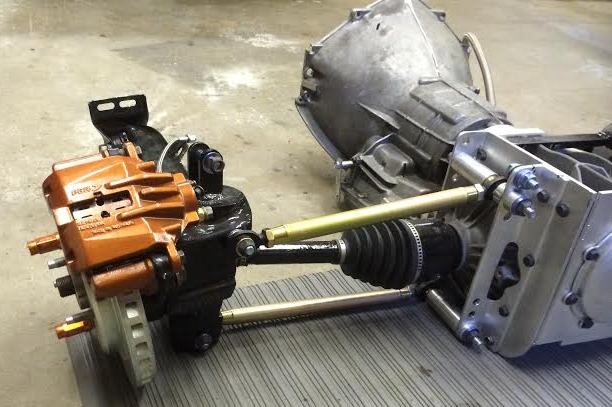
In my original C5 differential installation, I had several half shaft failures. The failures were a mix of inner C5 CV joints and outer TH400 slip yokes (machined to fit the C5 shafts) where they were welded. The problem was that I only had one lower lateral adjustment link. That made the axle the center of the pivot and would not let the axle float. Put too much end load on not only the universal (1 failure ) but on the inner CV as well (2 failures). I think the new setup that allows the axle to basically float will be substantially better.
I had the entire unit out of the car to repair a transmission fluid leak at the adapter. I pinched an o-ring when I reassembled it after a differential upgrade. Thanks to Mark Irons for supplying new o-rings. His adapter is great.
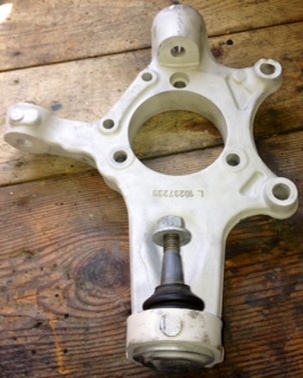
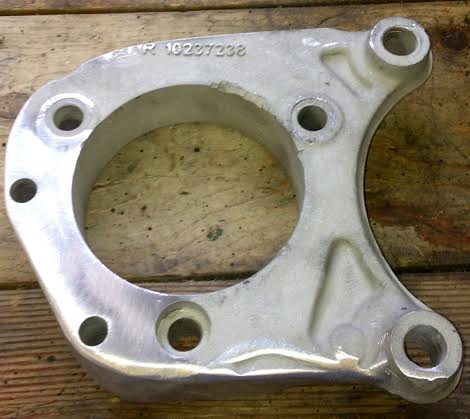
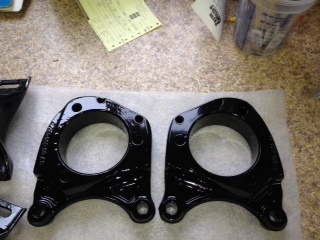
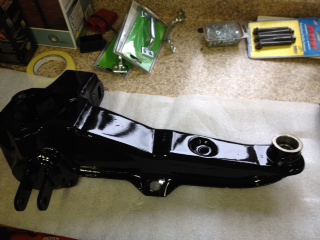
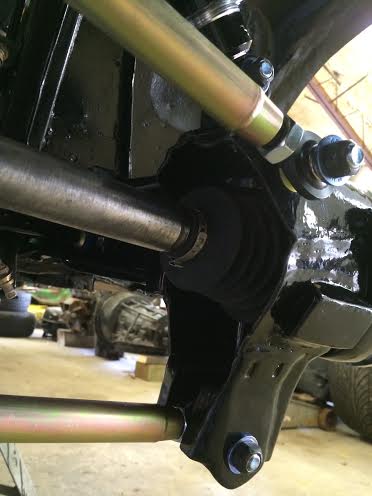
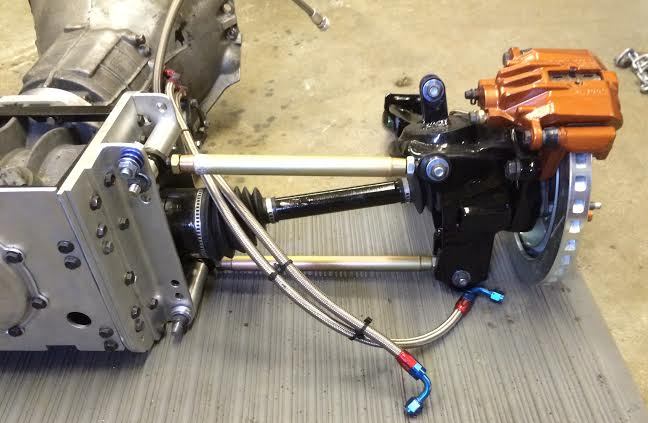
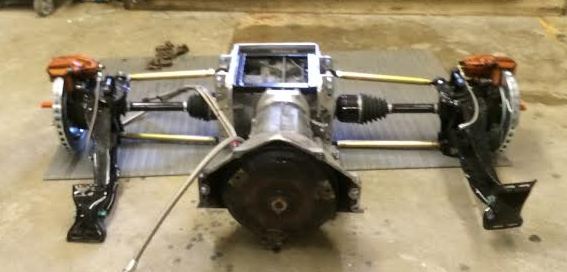
I bought 2 rear spindle / ball joint mounts on ebay. I had already cut a 1/4" plate to mount on the torque arm and I used that as a basic template to trim the aluminum brackets. I cut the ball joint extensions off and then used a good heavy file to work the edges down. The remodeled mounts will now serve to mount the C5 hubs and calipers. I clocked the mounts and then drilled three holes in the reinforcement plates and located them on the torque arms and then mig welded them in place. Additional pictures next week when I get the stuff back from powdercoat.
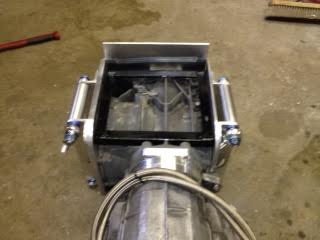
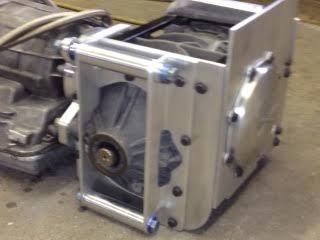
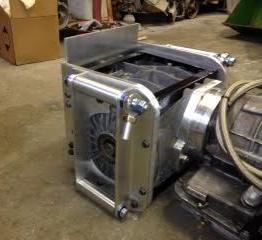
New C5 differential mounting setup photos (2-15-14)
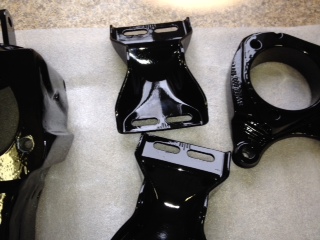
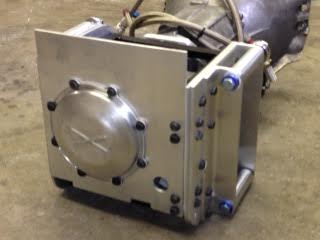
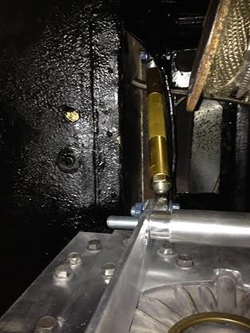
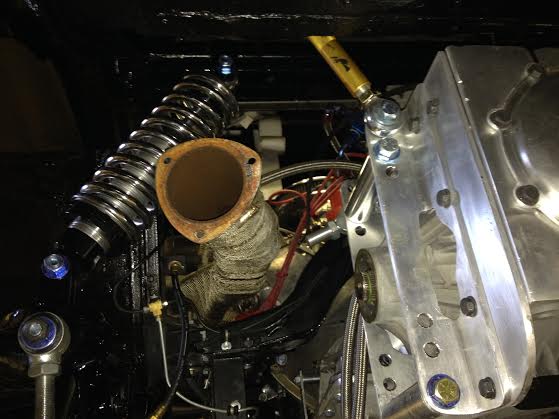
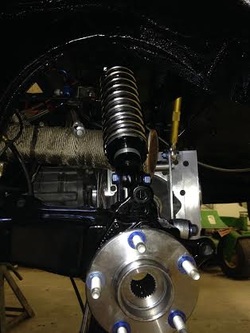
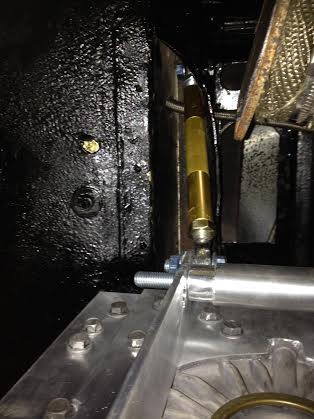
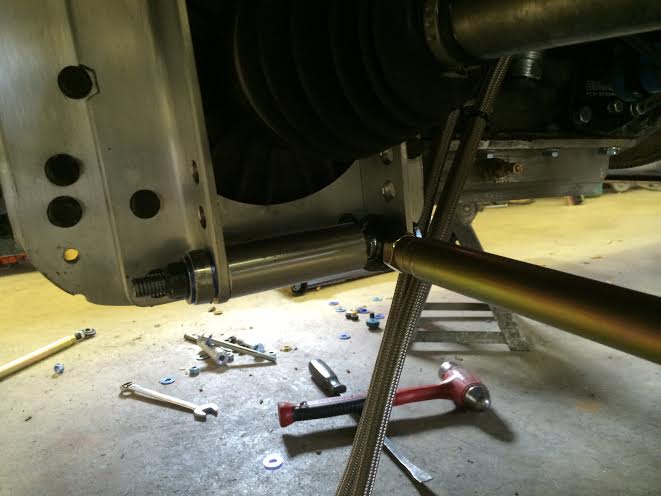
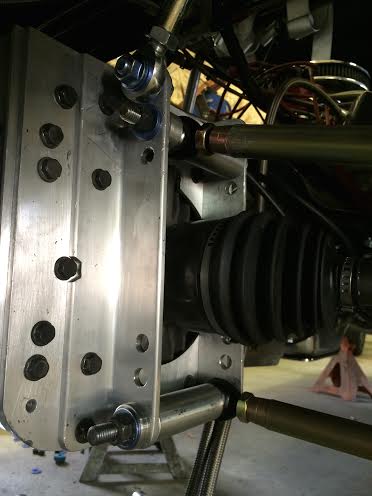
Pictures of the mounting setup for the C5 / powerglide. Plated on three sides with additional bracing at spots on the top and bottom. All bolt holes threaded into aluminum were drilled and tapped for thread inserts. The adjustable camber arms will mount with the round adapters in the side angles.
Next step is to get it bolted in and locate upper mount points on the body.
Next step is to get it bolted in and locate upper mount points on the body.
There's probably as much weight in the nuts and bolts as there is in the mount plates. I made the first reinforcement plates out of 1/4" steel plate, but the weight was just going to be too much. I used the steel plates as templates for the aluminum and if I have to redo anything, I'll still have the plates.
More Photos (4-28-2014)
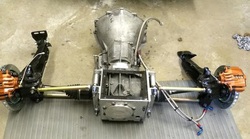
The Transaxle is Ready To Install (8-2014)
October, 2014 - Car Show Time!
May, 2015 Updates
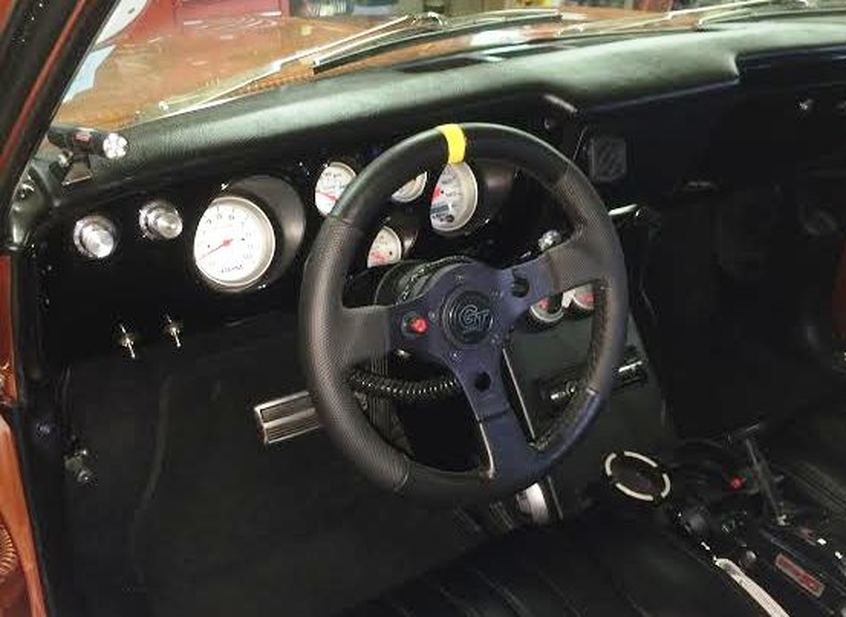
I ended up getting a Grant GT 13" wheel. It has a top indicator and two holes for push button mount. I adapted my quick disconnect to the Grant hub and it worked out fine. My old wheel had a 3.5" dish and the new one is only 1.5" dished. Much better and easier to get in and out with the wheel in place.
July, 2015 Corvair Olympics
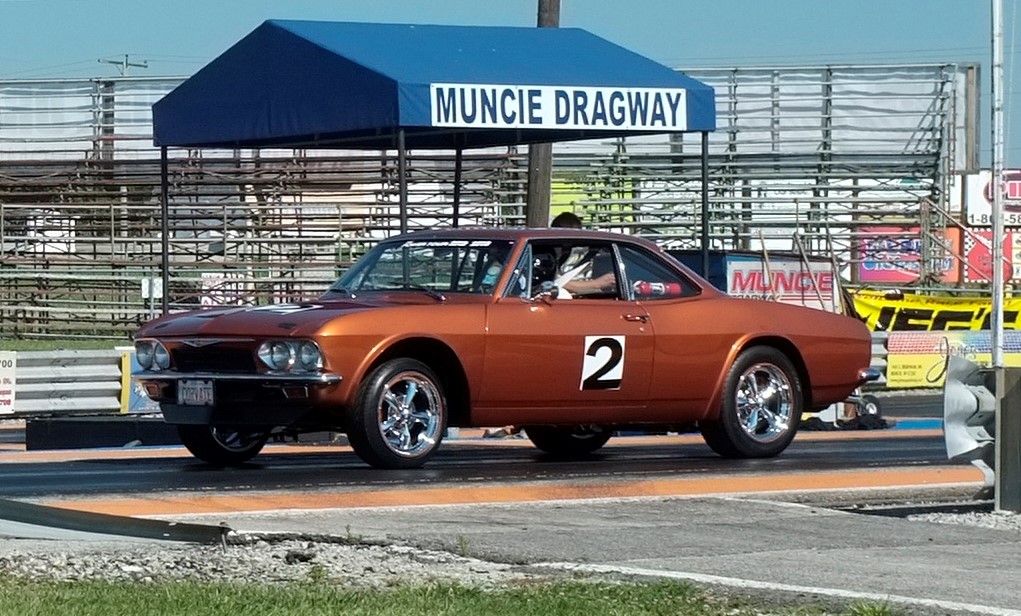
Ran at Muncie Dragway during the Corvair Olympics. Running a 350 bored to 358, 394 flywheel hp, powerglide transmission with a 3000 stall converter, C5 differential with 3.15 gears, weight approx. 3100 lbs. Did 3 runs on engine without nitrous. Best time was 14.21 @ 98.** mph. Opened up the bottle and the best pass with 100hp nozzles was 12.53 @ 111.** mph.
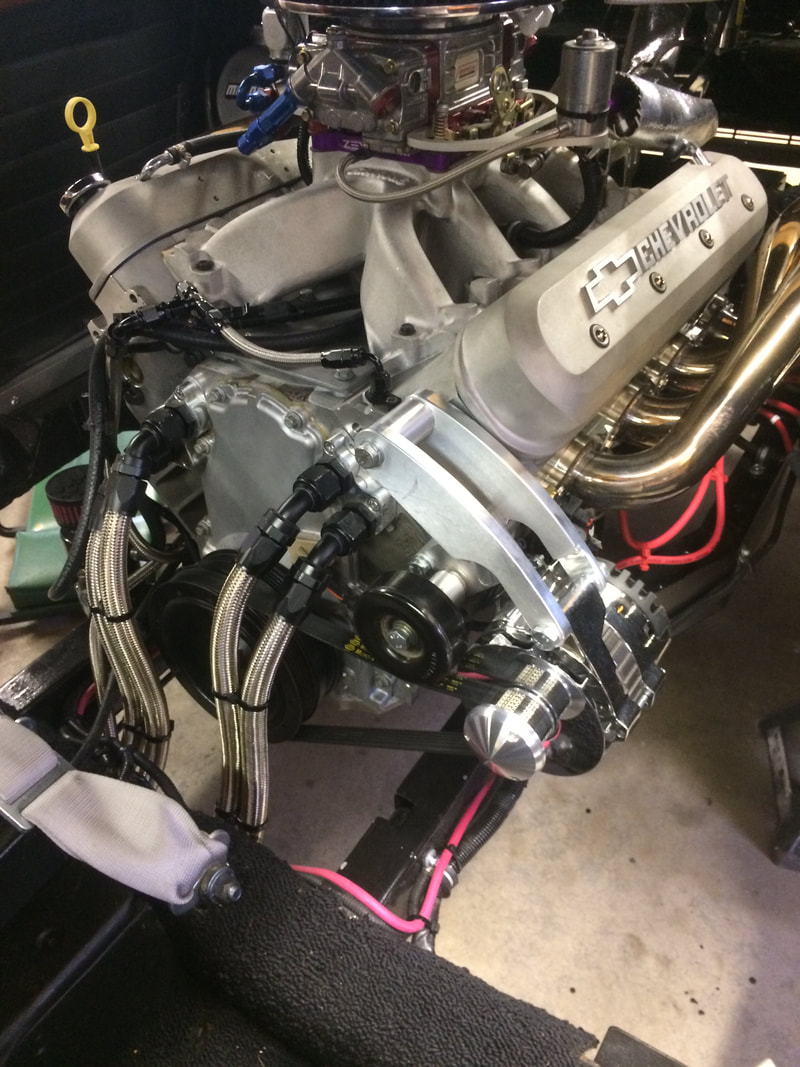
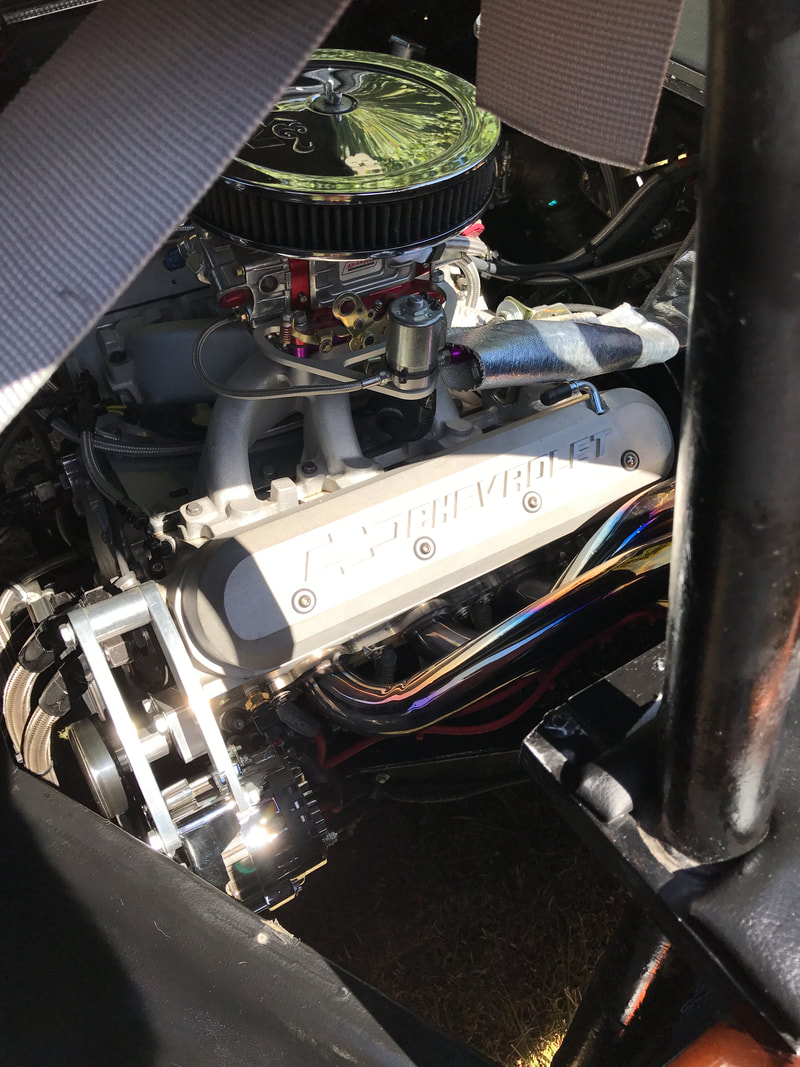
Unfortunately the Corvair Olympics put a lot of strain on the rod bearings. No failures but plenty of stress. Decided to upgrade to an LS 5.3 L out of a 2011 Silverado with less than 50K miles. It's an all aluminum block/heads rated at about 315-320 hp. I'll be converting it to carburetion and that will actually be good for a little hp bump. I'm still investigating a cam upgrade but it's major on the IV series engines, ie;the heads have to come off. May wait on that. I'm going to upgrade my cooling system at the same time. Probably won't be back on the road this year, but there's a chance......................
Unfortunately the Corvair Olympics put a lot of strain on the rod bearings. No failures but plenty of stress. Decided to upgrade to an LS 5.3 L out of a 2011 Silverado with less than 50K miles. It's an all aluminum block/heads rated at about 315-320 hp. I'll be converting it to carburetion and that will actually be good for a little hp bump. I'm still investigating a cam upgrade but it's major on the IV series engines, ie;the heads have to come off. May wait on that. I'm going to upgrade my cooling system at the same time. Probably won't be back on the road this year, but there's a chance......................
November, 2016 Update
LS engine installed, new cooling system and new powerglide being installed.
|
|
I opted not to use the stock water pump in order to gain more clearance in front of the engine. I used a Meziere remote electric pump that I mounted on the front crossmember. It's managed by a Davis-Craig controller which cycles the pump to keep the temperature at the desired level (modulates). I run 2 braided hoses (3/4") from each head, one in and one out, up through the tunnel. The pump has two 3/4" outlets and an 1 1/2" inlet from the radiator. The two return lines go into a "y" block and the an 1 1/2" back to the radiator. I use dual puller fans on the radiator also controlled by the Davis-Craig unit. Haven't had any issues with heat problems, cycles within about 10 degrees. Does make plumbing sort of a nightmare.
|
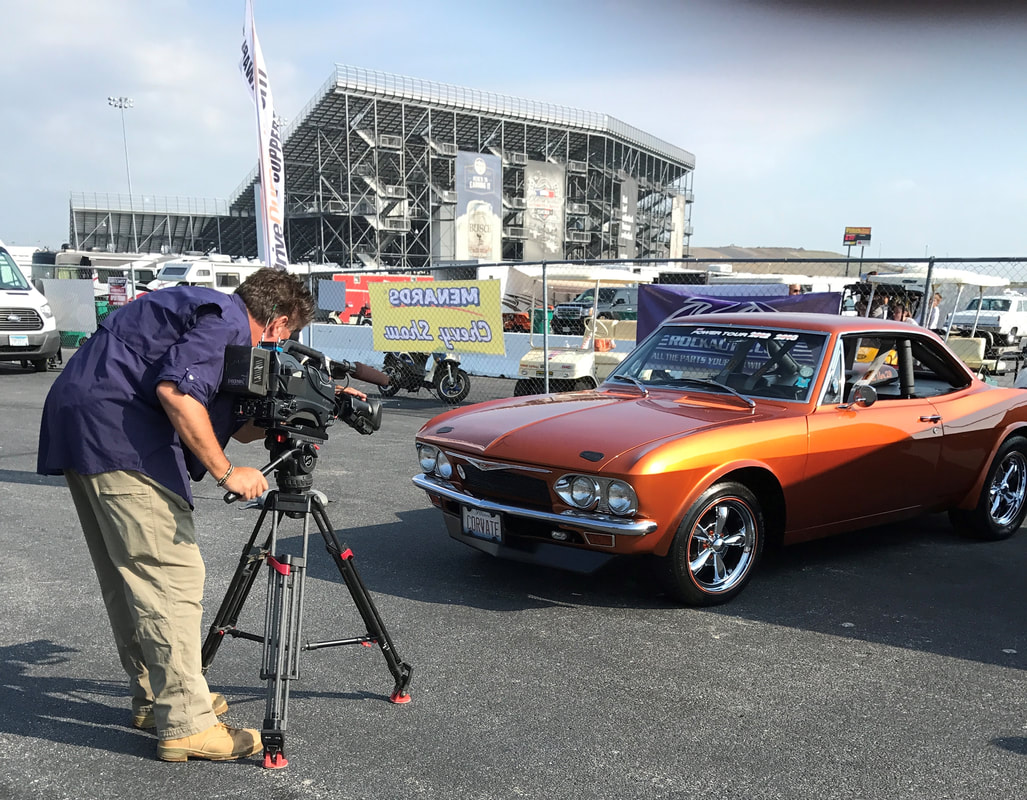
November, 2017 - Mr. Beck Is Invited To The "Chevy Show "
Pictures from the Chevy show. Two camera guys and then an interview. It's supposed to show on the Velocity Channel at 9:30 (IIRC) on Nov. 25th, 2017. It should come up as "Menards Chevy Show".
May, 2018 Update - Power Steering!
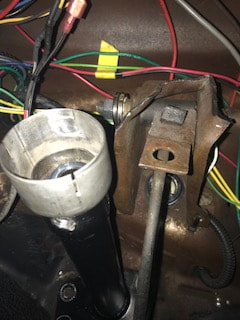
I did a road test yesterday and everything worked great. I bought the complete kit from epowersteering.com and it contained everything needed for the installation except for actual installation instructions. That’s dependent on what the kit is going into. The install wasn’t real difficult but there is some welding and fabrication required. The nice thing about the kit is that the motor output shaft has been shortened making it much easier to install. I’ll admit it took a lot of starts and stops to get it done. Mainly test fitting. I’ve attached pictures of how I had to trim the bracket supporting the brake pedal. I installed an additional brace to help support the pedal but even without it there didn’t seem to be much flex. It’s really a pleasure to be able to turn lock to lock with very little effort.
November, 2018 Update
February, 2019 Update
Got the EFI all finished up and youngest son, Nick, came out on Tuesday to help with the initial fire up. Too many new fuel line and pressure settings to see it all at one time. Got the primary information plugged into the little (3.5") handheld screen, basically engine size, cam (stock or mild), and fuel to air ratio requested, set the tps travel and light it up. Fired right up and hunted around for about a minute and then started settling down. It was great not to have the over rich exhaust running us out of the shop after the first couple of minutes. It got the timing set and the idle right. Now I just need to get it out on the road so it can continue with the learn cycle. That will be a little while, waiting for the weather plus I'm re doing my right axle shaft. I need the axle to be a little longer. I've got a replacement axle and have it all disassembled, now have to pull the old one and then get some measurements. I've got a local shop I'm going to check with about cutting and resplining so we'll see.
March, 2019 Update
I had noticed that the right rear wheel was setting a little further inside the fender than the left side. I also had more of a problem getting the camber and toe set on the right side. To add to everything else, this was the axle that came apart in Pittsburgh. I did some plumb bob measuring and tried to extend the right wheel out far enough to match the left with the adjustable links mounting it to the differential. Ended up needing almost a full inch and didn't have that much movement available in the inner cv. It would have failed just like it did at the Convention. Bought a used axle via eBay and sent the bare shaft to Moser to be shortened and resplined. Ended up going 1" longer. Probably finish putting it back together tomorrow morning and try to get it installed. Awful lot of work for just an inch...................
May, 2021 Update
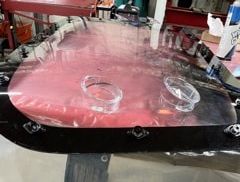
Current progress on rear lexan window installation. Trimmed slightly and all quarter turn fasteners and anchors installed. I've got a couple that I need a slight adjustment on to get them to latch easier. Also need to gain a little more spacing for gasketing material.
I completed the boosted/master cylinder mount. Had to source an adapter from Speedway Motors to go from two bolt mount on the front firewall to four bolt mount on the booster. I decided to go with an electric vacuum pump, mounted on the front cross member. It's a vane style pump with a built in storage container and is supposed to be considerably quieter than some others. At least that eliminates the issue of running vacuum line from the engine forward.
I completed the boosted/master cylinder mount. Had to source an adapter from Speedway Motors to go from two bolt mount on the front firewall to four bolt mount on the booster. I decided to go with an electric vacuum pump, mounted on the front cross member. It's a vane style pump with a built in storage container and is supposed to be considerably quieter than some others. At least that eliminates the issue of running vacuum line from the engine forward.
